Layout Profiles
ShareMouse can store multiple display layouts for situations where you use the same computers and monitors in different arrangements, or when your setup includes a shared display that is connected to several computers through different hardware inputs.
Creating layouts
ShareMouse automatically creates one layout for your setup. You can arrange the displays as needed. If you wish to store a varying setup with different display positions, you can switch between, you would need to create a new layout first.
To create a new layout:
- Open the Monitor Manager.
- Click the gear icon in the upper right.
- Click the "" icon.
- Enter a meaningful name in the layout drop-down box.
- Move the display icons to match the physical display arrangement.
Switching layouts
To switch to a layout:
Select the desired layout from the ShareMouse tray icon menu:
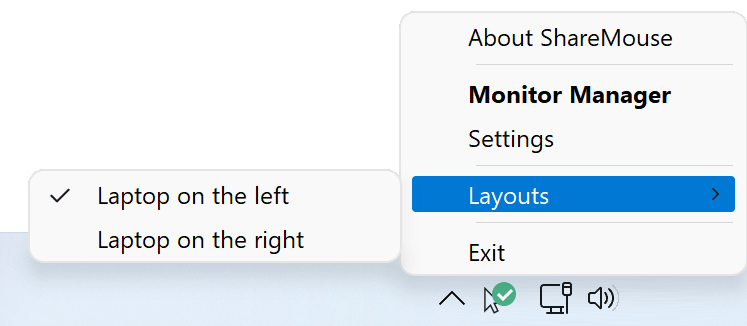
Alternatively, press the layout switch hotkey which can be defined in the settings.
Workplace Auto-Switch
ShareMouse automatically detects when a computer is used in different workplace environments and switches to the corresponding display layout accordingly.
This technology removes the need to readjust your display positions whenever you move your computer between workspaces.
Example: If you use your laptop next to a desktop PC at home, and the same laptop at work alongside three PCs and dual monitors, ShareMouse automatically detects the different environments and switches to the correct display layout.
Register your license key on the roaming computer. This registered computer temporarily licenses the other computers of the workplace.
Deleting layouts
To delete a layout:
- Open the Monitor Manager.
- Click the gear icon.
- Select the layout you wish to delete.
- Click the recycle bin icon.
Deleting a layout is not critical as you can create a new layout with a press of a button.