Network
Password Protection
By default, ShareMouse adds any other ShareMouse installation in a local network to your setup automatically.
To separate work places in a shared network environment from each other, configure a separate password for each work place.
Example: Jill uses a separate password for the computers at her workplace and Bernhard uses another password for the computers at his workplace. So, both can use ShareMouse within the same company network without interfering each other.
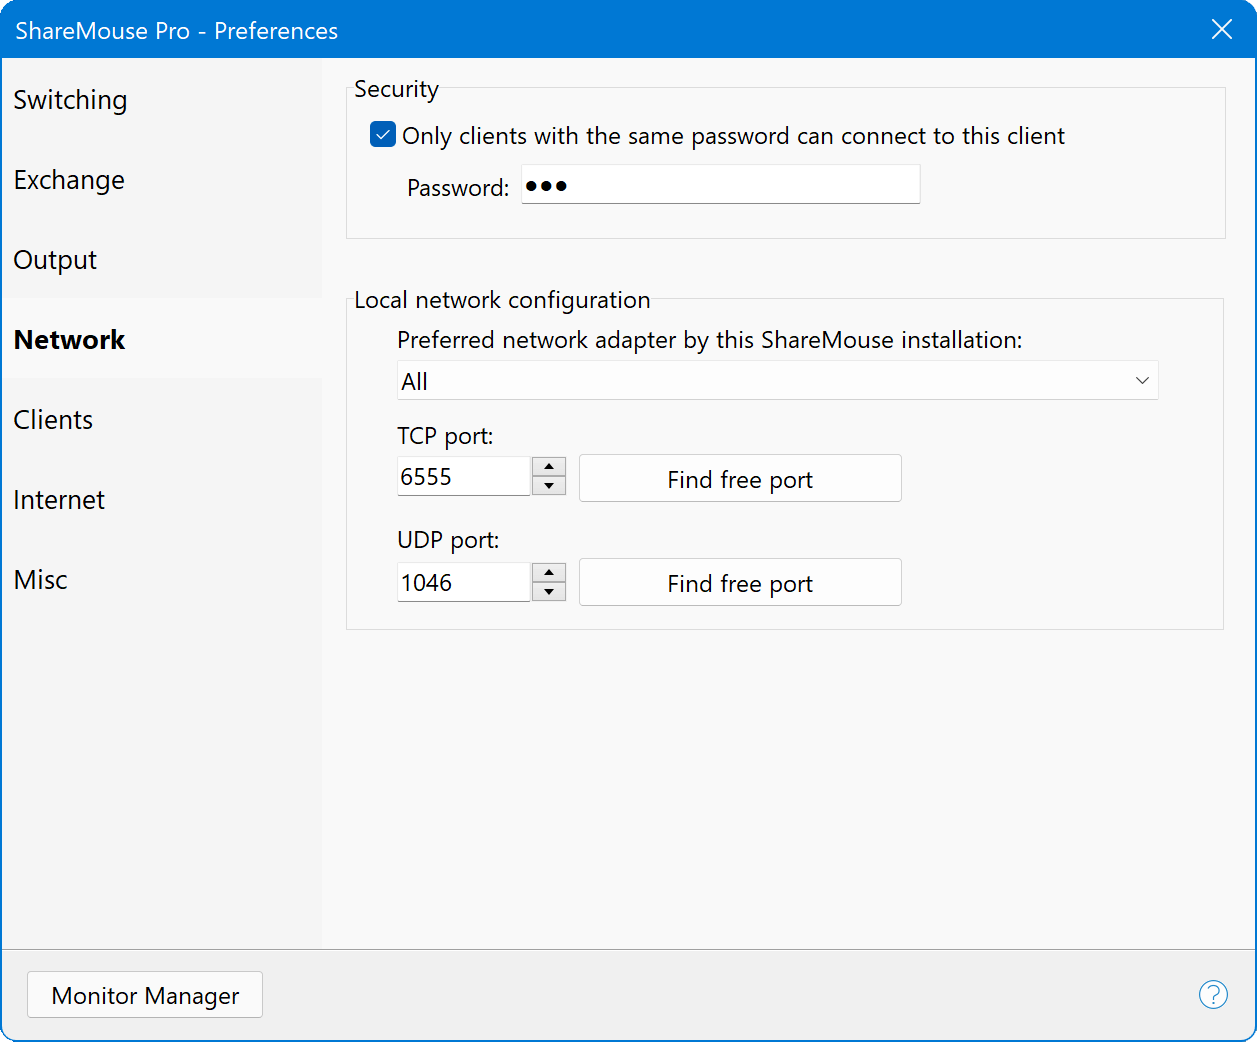
To set a password:
- Open the ShareMouse "" and switch to section "".
- Enable the password option and enter a password.
- Repeat above steps on all computers you wish to group to a separate work place.
Done! Only clients with the same password can now connect with each other.
Password-protection automatically enables AES 128 (CBC mode) encryption of network data such as keyboard input, mouse coordinates, clipboard transfer and file transmission data.
If one ShareMouse installation is password-secured, all ShareMouse clients must be password-protected as well.
Connection Settings
You can optionally specifiy a network adapter that shall be preferred by ShareMouse. We recommend to choose the network adapter with the lowest latency which is the wired Ethernet LAN port in most cases.
ShareMouse falls back to the next available network adapter during the time, the selected network adapter is disconnected/unavailable.
Make sure that you do not select a network adapter which IP address you may have excluded to be used in the configuration of other ShareMouse clients.
ShareMouse installations find each other by sending/listening for broadcast polls on UDP port 1046 and uses TCP port 6555 for clipboard sharing and file drag & drop.
If these ports are occupied by another application, choose another available port under .
- Port changes must be applied to all connected ShareMouse clients!
- ShareMouse programs must be able to pass the firewall through the ports in the local network.
- You may need to update firewall settings after changing ports!